ARE YOU LOOKING
FOR NOT EXPENSIVE,
MODERN KITCHEN?
With the short lead time, delivered by the courier straight to the doors? Easy to install, as not to pay to the professionals? Do you like warm wood colors, or do you prefer fashionable cold and sterile gloss?
ecoModel kitchens are the modern kitchen units in a very attractive price
ecoModel
We have ecoModel kitchens for you, which will meet your requirements!
In a couple of days from receiving the order, a courier will deliver your furnitures to the given address.
Don’t be stressed. All the cabinets we deliver in packages with a clear readable assembly instruction.
Front doors were made of high quality laminate board, scratch resistant, greasy stains and they are easy to be kept in clean.
We have prepared for you various color variants of the fronts, from warm wood-like decors to sterile glossy ones – whatever you choose – the “wow” effect ensured!
In the ecoModel collection you will find ready-made kitchen sets with dimensions: from 1.8 meters to 2.8 meters which you can choose additional cabinets, including corner cabinets to.
STEP 1 – the first step is the correct measurement, you need to carefully measure the room, and then draw it on a checkered piece of paper in the appropriate scale.
STEP 2 – choose cabinets – when the room has been drawn, select appropriate cabinets and put them on a piece of paper. Use our sets ranging from 1.8 meters to 2.8 meters or create completly new set. Complete your furniture with additional cabinets, choose worktops.
STEP 3 – the technical side is behind us, the most important question is how the kitchen should look like? In the colours of warm wood, or maybe in a cool gloss? Kitchens look great on the basis of contrast – lower cabinets in wooden decors, and upper ones in glossy. For the bravest, we have gloss in the upper and lower cabinets, e.g. in white or fashionable black. Most of the proposed colors are included in the visualizations of our sets – look carefully and choose the colors that suit your taste!
KSTEP 4 – we managed to plan the dream kitchen now it’s time to buy it. Stationary stores to choose from – are described on the website www.layman.pl in the Selling Points tab.
STEP 5 – time for assembly – the furniture came in packages, but thanks to the clear instructions, there will be no problem with mounting them. We put a little effort into arranging and hanging cabinets, we install worktops and household appliances and the kitchen is ready!
STEP 6 – everything looks beautiful and shiny, now it’s time for the first meal together in the new kitchen – we wish you Bon appetit!
DO IT ON YOUR OWN
Everything about the assembly
Modular kitchens intended for self-assembly are delivered to the recipient in packages. If we decide to make the entire development ourselves, we should divide the work into stages and prepare well for them.
Incorrect gluing or mounting may result in the destruction of the element or the entire body, and thus with additional costs and waiting time. When your new kitchen arrives, check that all necessary parts are included in the package. The easiest way to compare this is to the list on the order. Do not start disassembling your old kitchen until all new items are complete. Packages with furniture and household appliances should be arranged in the order in which they are to be assembled. Before starting work, disconnect all utilities in the room, turn off electricity, water and gas supplies.
Tools
Most of the assembly instructions contain information about the tools needed for a given element, nevertheless it is worth to make one common list and complete everything at once. The list should include: a pencil, a measuring tape, a drill / driver, a spirit level, a flat screwdriver, a cross screwdriver, an angle saw, a hand saw, a rubber hammer, a carpenter’s clamp. A circular saw and a cutter can also be useful – to cut a hole for a tap in the sink. Some of the tools depend on the type of walls which the furniture will be mounted to. It is worth to determine it before starting the assembly and on this basis select the appropriate fastening elements.
Planning
Having complete furniture, appliances and tools, you can start sketching the kitchen on the walls. For this purpose, it is worth to mark the individual dimensions with a pencil, while checking whether the arrangement of the water and gas inlets, the electricity supply and the location of the ventilation holes are in line with the plan. It is also good to use a spirit level to mark the places where the slats for the hanging the cabinets will be mounted, remembering that the minimum space between the top and the bottom of the upper cabinets is 56 cm.
Corpuses assembly
To let the work run smoothly, first assemble the enclosures of the wall cabinets, in accordance with the assembly instructions. If a corner cabinet is to be found in the kitchen, it is good to start fixing with it. The next cabinets will then be easier to fit. After hanging all the upper elements, you can start assembling the bodies of the lower standing cabinets. Remembering the attached instructions. We also start the setting from the corner, leveling the level by adjusting the legs. When the cabinet frames are in place, it’s time to install the countertops, sink, lighting and household appliances.
Worktop, sink, cooker
Before drilling and mounting the worktop, it is worth making sure that it has the right dimensions. Cutting holes in the countertop for a sink or a heating plate should be entrusted to a carpenter because this operation requires practice and appropriate equipment. The edges of the cut-out hole should be protected with sanitary silicone or another agent protecting against moisture. It’s time to attach the worktop, install household appliances and lighting. Everything should be done according to the instructions. Water, gas and electrical connections must be commissioned by qualified specialists.
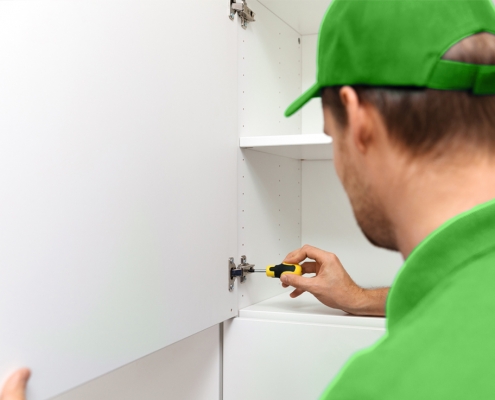
Installation of shelves, drawers, doors, knobs and handles
The next step is to install drawer guides, shelf mounts and door hinges in the cabinets. Again, follow the instructions provided with the individual accessories. At the end, knobs and handles are attached to the mounted. Next, screw the hinges to the door, attach them to the bodies and align the arrangement of the door with the screws on the hinges. Now you need to screw the drawers together and slide them onto the guides in the body. The culmination of all the work is the installation of the plinth.
Cabinet care
In order to enjoy a self-assembled kitchen for as long as possible, it must be properly cared for. It’s best to use a soft, moist cloth to clean doors, wooden surfaces and inside cabinets. Avoid cleaning agents containing ammonia or alcohol, bleaching agents, and abrasive agents. It is also worth drying the worktop after each splash.


 Tools
Tools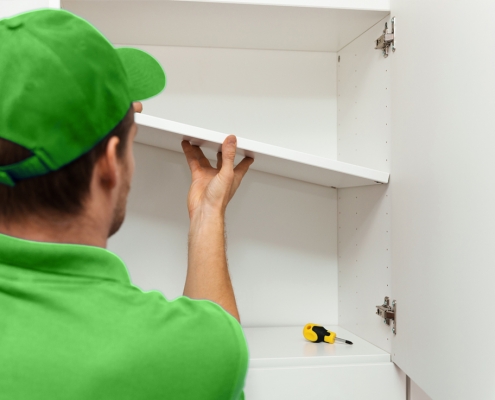 Corpuses assembly
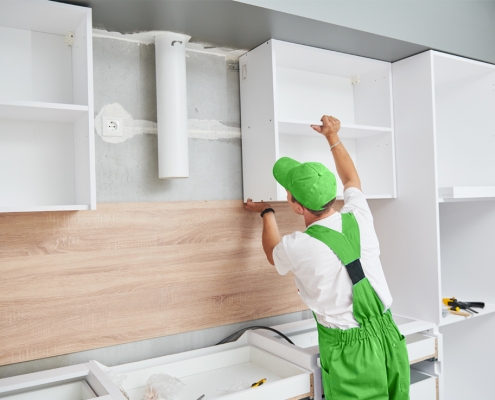 Installation of shelves, drawers, doors, knobs and handles


